Unlocking Your Android Phone’s Bootloader without a PC: A Beginner-Friendly Guide
Unlocking Your Android Phone’s Bootloader without a PC: A Beginner-Friendly Guide
Unlocking the bootloader of an Android phone is an essential step towards customizing your device to your liking. It allows you to flash custom ROMs, install recovery images, and root your phone. However, the process can be intimidating, especially for beginners, and requires a computer in most cases. But did you know that you can unlock your Android phone’s bootloader without a PC? In this guide, we’ll show you how to do just that, step by step, in an extremely beginner-friendly way.
Before we begin, please note that unlocking your phone’s bootloader will void its warranty, and there is a risk of bricking your device if not done correctly. Make sure to read and understand the risks and warnings associated with the process before proceeding.
Requirements:
- 2 phones (because we will use 1 one as a pc)
- OTG
- Nothing else
Step 1: Enable Developer Options
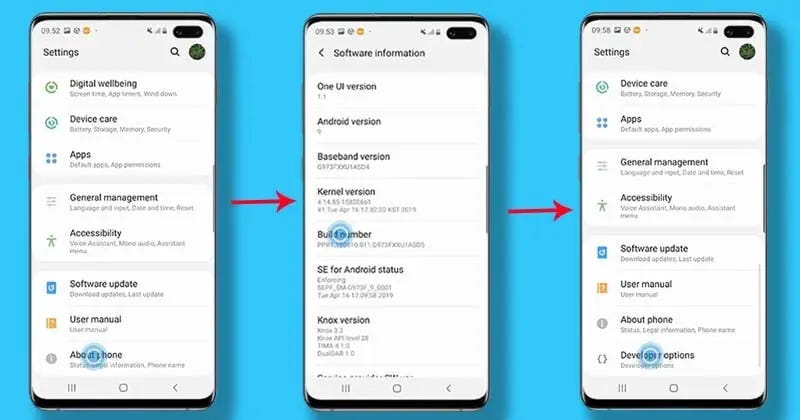
The first step is to enable Developer Options on your Android device. To do this, go to Settings, scroll down to the About phone option, Go to Software information, scroll down to the Build number option and tap on it seven times in rapid succession. This will enable Developer Options on your device.

Step 2: Enable USB Debugging &OEM unlock
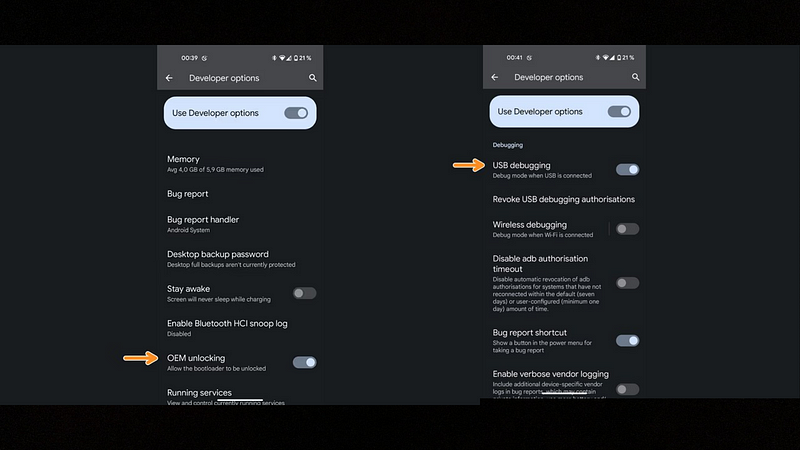
With Developer Options enabled, you can now enable USB Debugging. This option allows your phone to communicate with your computer over a USB connection. To enable it, go to Settings > Developer Options > USB Debugging, and toggle the switch to the on position. Do the same for OEM unlock.

Step 3: Download and Install ADB
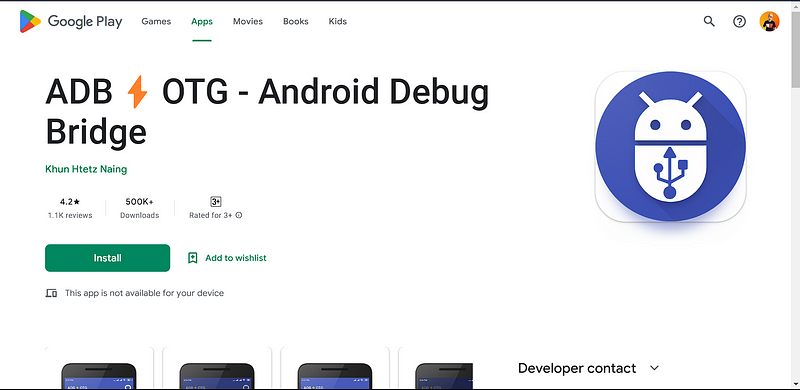
ADB (Android Debug Bridge) is a command-line tool that allows you to communicate with your Android device from your computer. As we don’t have access to a computer, we can use an app called “ADB⚡OTG — Android Debug Bridge” to install ADB on your 2nd phone. You can download the app from the Google Play Store. Now we can use the 2nd phone as a computer

Step 4: Connect Your Phone to Your Computer
Connect your phone to your 2nd phone using a USB OTG.
Step 4: Boot Your Phone into Fastboot Mode
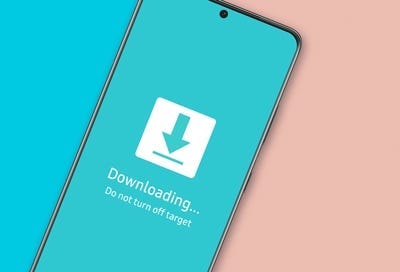
Now, it’s time to boot your phone into Fastboot mode. To do this, turn off your device completely. Then, press and hold the Power button and the Volume Down button simultaneously until the phone boots into Fastboot mode.

Step 7: Unlock Your Phone’s Bootloader
Finally, it’s time to unlock your phone’s bootloader. To do this, open the “ADB⚡OTG — Android Debug Bridge” app and type the following command :
fastboot flashing unlockIf the above command doesn’t work, run this command (older devices need this):
fastboot oem unlock- (Not applicable for all) If you get a confirmation screen on your device. Press Volume Up button to highlight Yes and press Power button to select it. This will begin the bootloader unlocking process, which shouldn’t last more than a couple of minutes.
- Once the bootloader is unlocked, your device will reboot into bootloader mode. You need to boot it into the system now using the command below: